
Hi, I’m Kimiya Kitani, a member of WordCamp Kansai 2016.
Today, I’m glad to be able to introduce the final story for the 3D Wapuu!
Kassy-san, a member of WordCamp Kansai 2016, is the 3D Wapuu’s creator of WordCamp Kansai 2016. And then, he started the serialized report at this site.
The first story is Advent of 3D Wapuu!
The second story is Let’s challenge to print the 3D Wapuu to the 3D Printer!
The third story is Nightmare printing error! And then…
I would like to introduce the final story in English.
Hi, I’m Kassy, a member of WordCamp Kansai 2016.
I’m glad to post the final (fourth) story of the 3D Wapuu 🙂

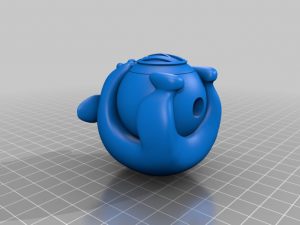
I could print 3D Wapuu through many trials and tribulations.
Congratulations to me?
No, it has not ended yet!
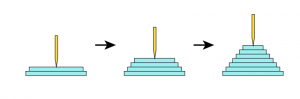
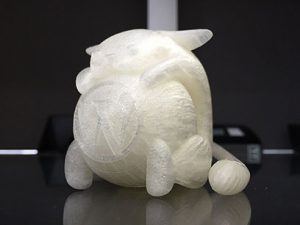
The 3D object is made up in the layered resin by the 3D printer.
Thus, the look is not so good because the surface is jagged.
As a result that I investigated how to smooth the surface, I adopted the following method.
First step is to polish it by sandpaper.
I purchased the abrading agent (*1) for the 3D printer on the Internet shopping.
*1 Tune D3 : http://www.mipox.co.jp/en/category/products/application/3d_printertuned3
Reference blog: http://idarts.co.jp/3dp/tunde-d3-press/ (in Japanese)
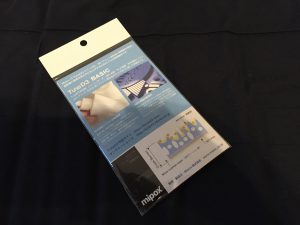
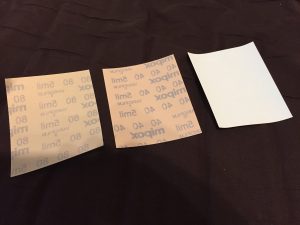
There were three types in the product.
The hand feeling is like cat’s mouse :-O
First Step: Polishing it at the bath room!
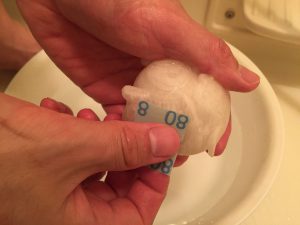
Polishing, polishing, and polishing while wetting with water!
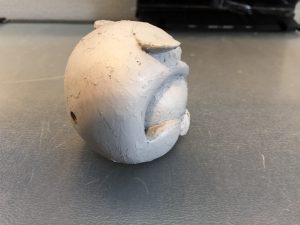
But it’s hard to smooth the jagged part around logo and face.
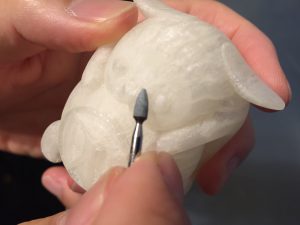
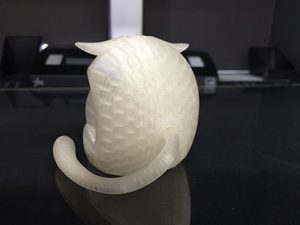
Then, I was polishing it by the electric router whetstone for a plastic model.
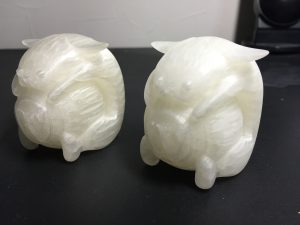
As a result of polishing it for a long time, it became very smooth!
Left: Non-polished.
Right: Polished.
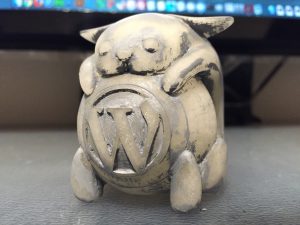
Second Step: Coatings by putty
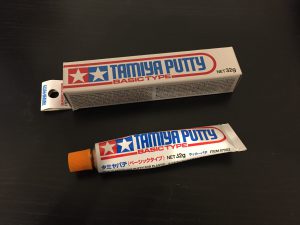
I purchased the putty for a plastic model.
Then, I coated all parts of the 3D Wapuu by putty.
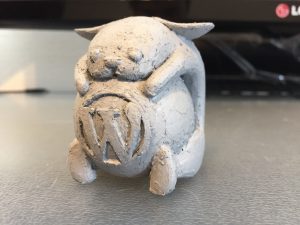
It became to look like the ancient stone figure 🙂
After I desiccated it, I polished by the waterproof paper.
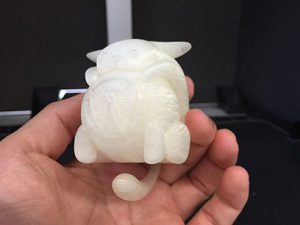
Wow! It’s very smooth!!
The look is not so good yet, but the hand feeling is very good!
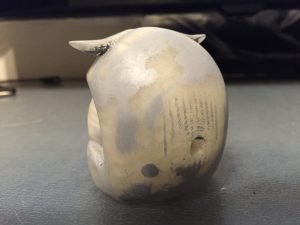
Final Step: Painting
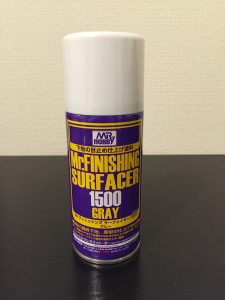
Firstly, make the base coat in the surfacer.
I tried to use the black surfacer.
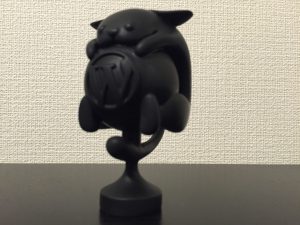
I had already printed the pedestal for the 3D Wapuu 🙂
And then, painting!!!
…
…
…
end 🙁
P. S.
I’m sorry the story is finished. I would like to introduce the completed 3D Wapuu, but it’s top secret until WordCamp Kansai 2016. It will be exhibited at the venue of WordCamp Kansai 2016!!
If you have an interests, let’s join to WordCamp Kansai 2016!!
https://2016.kansai.wordcamp.org/tickets/
Appendix: 3D Wapuu’s data
The data has already been published on the GitHub and Thingiverse.
wckansai2016-3d-wapuu
https://github.com/wckansai2016/3d-wapuu
3D Wapuu by kassy000 – Thingiverse
http://www.thingiverse.com/thing:1386525
You can print our 3D Wapuu by the 3D printer if you can use.
How about series of the 3D Wapuu’s articles?
Thank you for reading this to the end.
Let’s meet up at WordCamp Kansai 2016!!